

Will Strip for Yarn
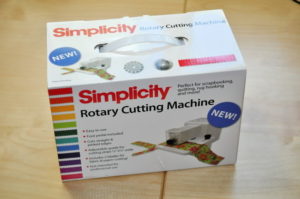
From time to time companies will send me a product that they would like me to test out and since I’m always looking for stuff to blog about, I like to write up quick reviews too. This time around I got the new Rotary Cutting Machine from Simplicity – and it is amazing.
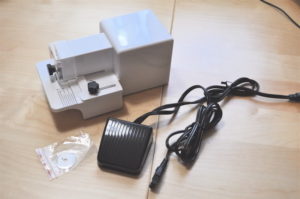
This is how the rotary cutter comes out of the box! Pretty much no assembly required, although the blade and roller ball need adjusting with a flat head screwdriver.
That’s pretty much all you have to do, then plug it in and start stripping, er, I mean rotary cutting. There is a slotted guide that you slide the fabric through and it is adjustable from 3/8” up to 2 ¾” widths. For my test run I chose the 1 ½” width.
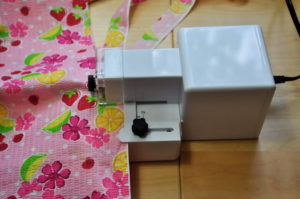
It did take me about 10 minutes to get the feel of the machine and it helped to guide the fabric from both the front and the back. The pedal made it super easy to do this since both my hands were free. After a couple of adjustments to the blade (which are interchangeable btw) I started making fabric strips like a mad man. It took 25 minutes to cut 2 ½ yards of this fabric into perfect 1 ½” strips. More than enough to do a crocheted basket!
If you like to do craft projects that require you to cut strips of fabric this machine is a gem. I have made crochet projects with fabric strips in the past and cutting them perfectly straight was always the most difficult part. Now that I can zip right through that phase of the project I am definitely going to do more fabric projects. And, if you are into paper projects you can use the rotary cutter to make perfect paper strips too!
Now What?
When we were young our dad would crochet big area “rag rugs” for the farmhouse where we lived. My sisters would cut the fabric and sew the strips end to end to create the “yarn” busily trying to keep up with Dad’s fast crocheting. Here is a quick and easy “no sew” method to connect the strips of fabric that will make a bit less laborious for you!
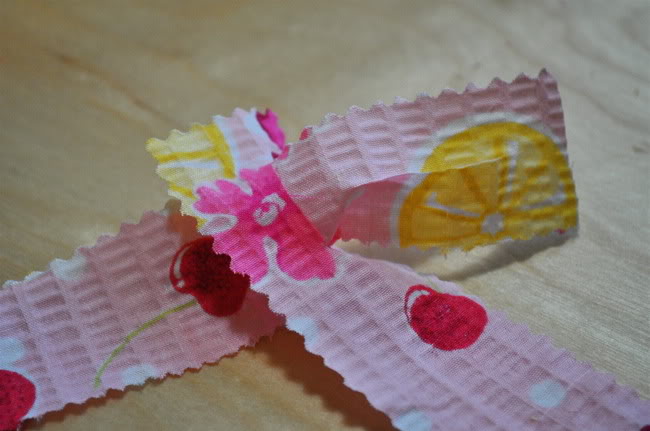
Fold the end of each of the strips over about an inch and cut a small slit over the fold creating a hole: 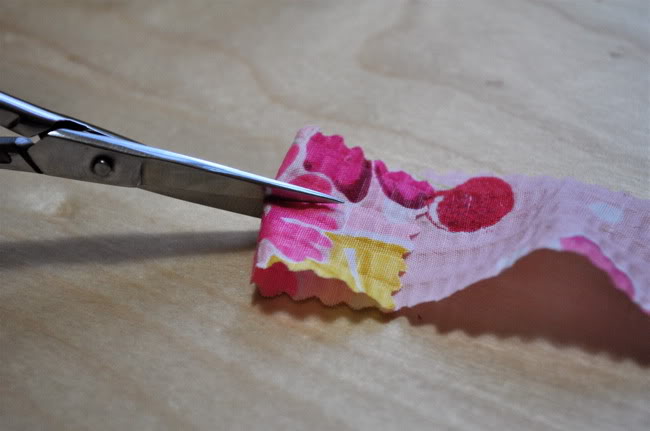
Let’s call the strip connected to your project or the ball you are creating “Strip A” and the new strip you are wanting to attach “Strip B”. Insert end of Strip B through the slot at the end of Strip A:
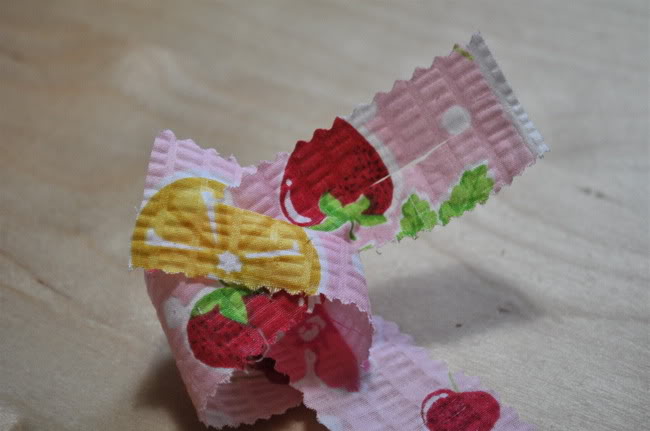
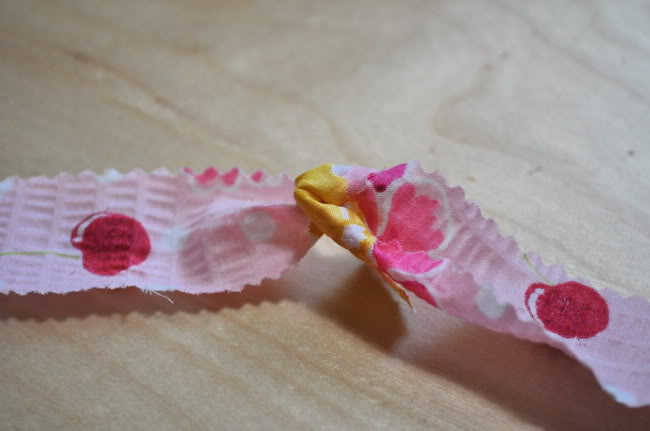
And pull tight:

The Crochet Dude® is a registered trademark of Drew Emborsky. All rights reserved. Please do no copy or distribute this tutorial – but please share the link with all your friends! Thank you very much to Simplicity for the rotary cutter.
Please click one of the icons below to share this tutorial on your favorite social media sites!


2 thoughts on “Tutorial: How to join fabric”
Comments are closed.