

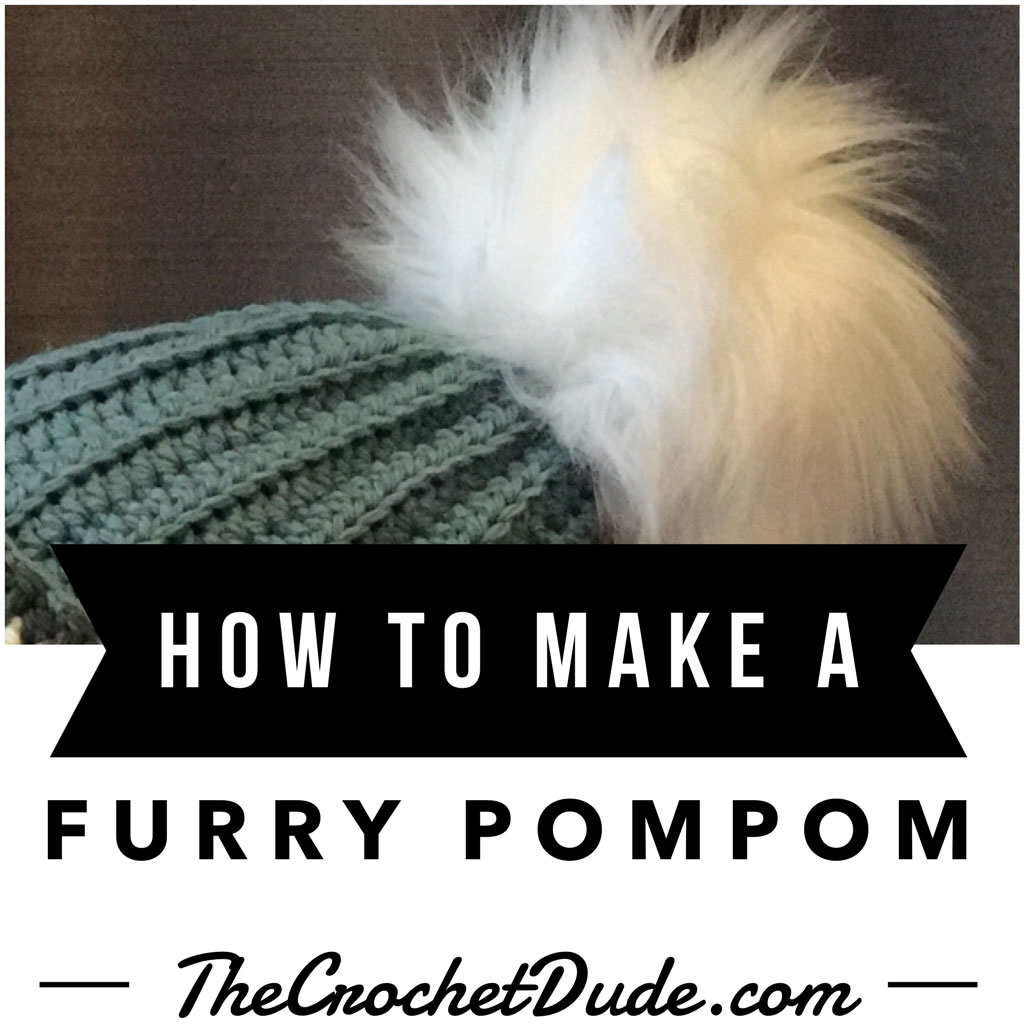
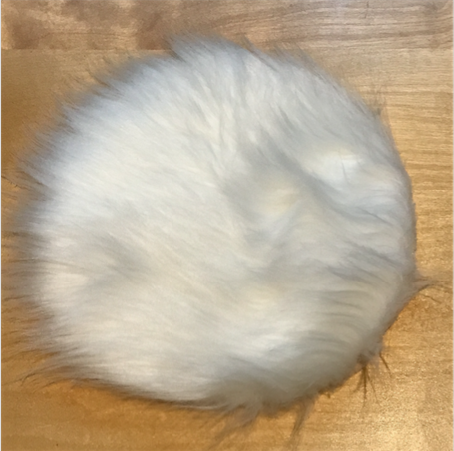
Making a furry pompom is SO easy, and it adds so much style to the top of a crocheted or knitted cap, or even the ends of a scarf! I’ve even seen furry pompoms on keychains! Here is my free tutorial so you can make some of your own!
How To Make A Furry Pompom
©2017 Drew Emborsky, aka The Crochet Dude®
Materials
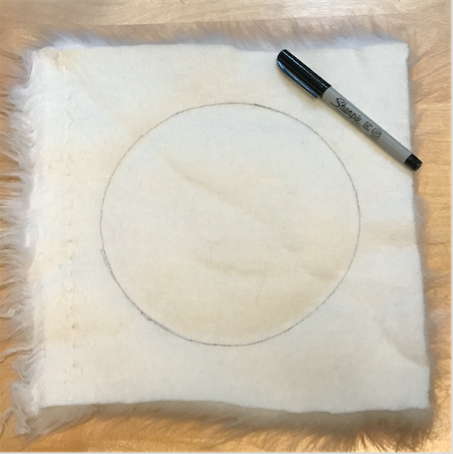
Faux fur at least 7″ (17.78cm) square
A circle template 7″ (17.78cm) in diameter (I used a mixing bowl)
Marker
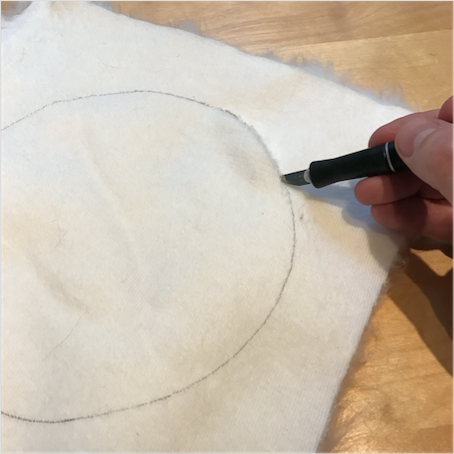
Craft knife
Sewing thread
Sewing needle
Small amount fiberfill or cotton balls
Instructions
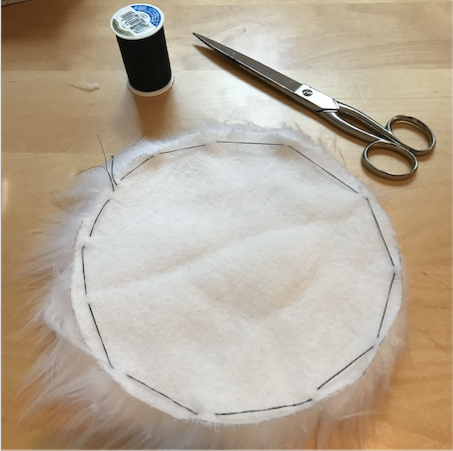
On the back side of your fur, using the marker and the template you’ve chosen, draw a 7″ circle:
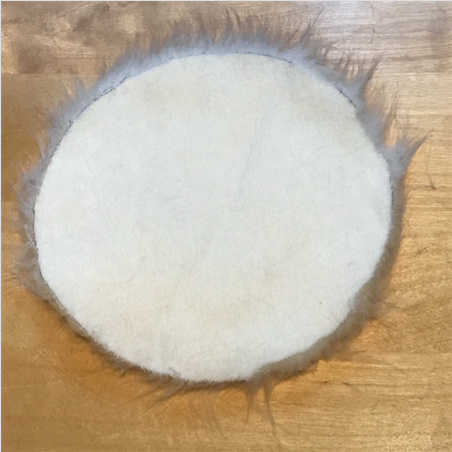
Using the craft knife (NOT scissors) very carefully cut out the circle you’ve drawn. Note: if you use scissors you will end up with lots of tufts of fur flying around. By using the craft knife on the backside of the fabric you avoid cutting the fur and all the mess!
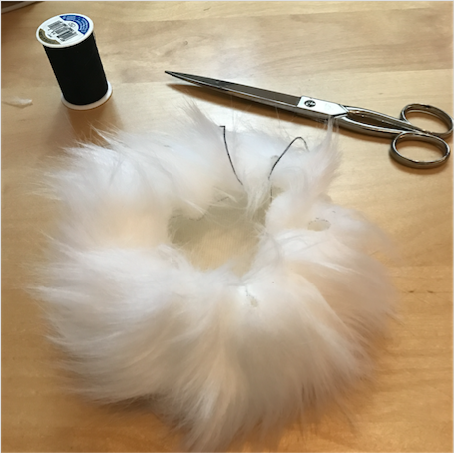
With the sewing thread and needle, loosely stitch around the outside edge of the backside of the fur:
Gently cinch the thread until almost closed. Stuff with fiberfill or cotton balls:
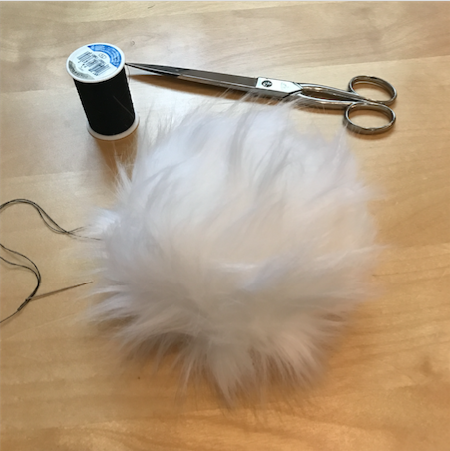
Once the pompom is stuffed cinch the hole completely closed and secure the thread with a knot:
Attach the pompom to the top of a hat (or wherever else you’d like it) using the needle and thread:
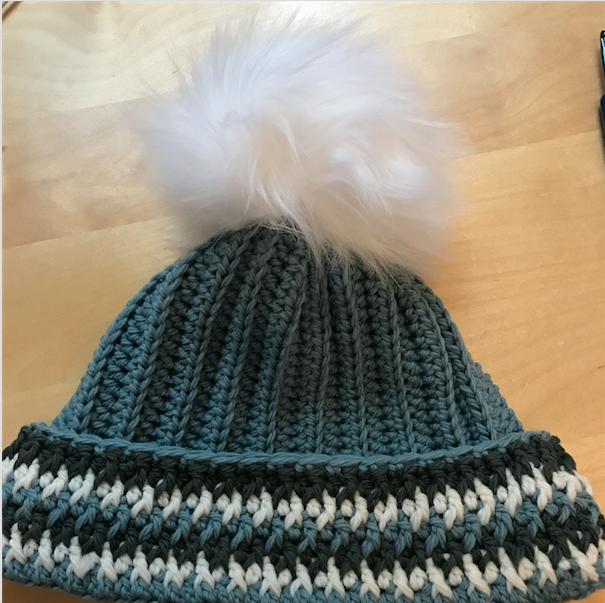
The free pattern for the hat pictured is available here: Jessica Cap & Cowl Set
The Crochet Dude® is a registered trademark of Drew Emborsky. All rights reserved. Please do no copy or distribute this tutorial – but please share the link with all your friends! Click on the green Print Now button below to print or save as a pdf for your own personal use.
Please click one of the icons below to share this tutorial on your favorite social media sites!


2 thoughts on “How To Make A Furry Pompom: free tutorial”
Comments are closed.