

Each year I pick a theme for wrapping my gifts. There are several reasons, one of which is that it’s just more fun this way! I enjoy trying to figure out a theme, collecting the elements needed, and pulling it all together. Another reason is that when you stick with one theme then you get the maximum visual impact because multiples of anything looks more impressive than a single item.
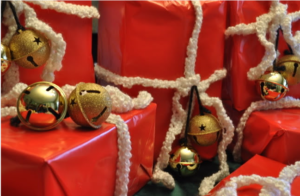
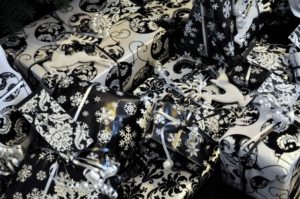
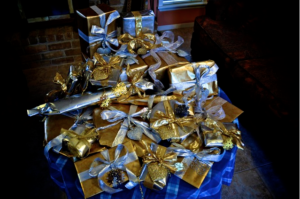
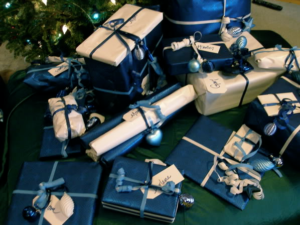
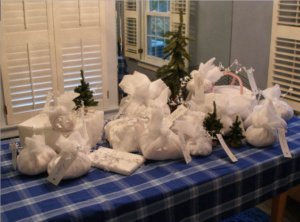
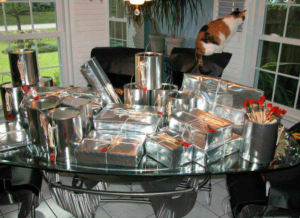
In the past I’ve used the theme of “snow” and also “paint cans”, and one year “black & white” – it can be as simple as just choosing one or two colors and sticking with it! What is common to each year is that there is a way to wrap the gift, then there needs to be a name tag, and finally I like to add an ornament so that hopefully the recipients hang those on the tree each year.
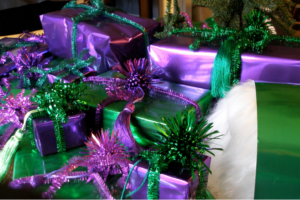
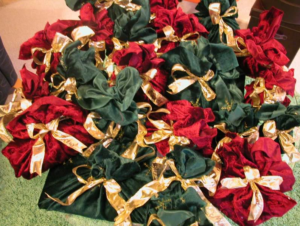
Past Years
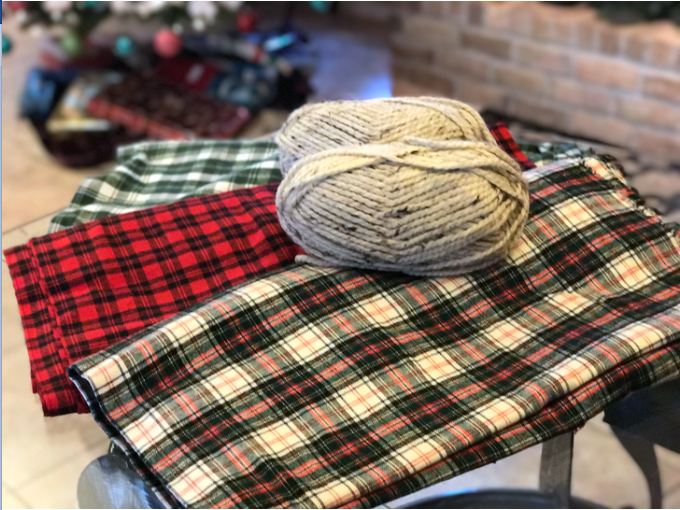
This Year
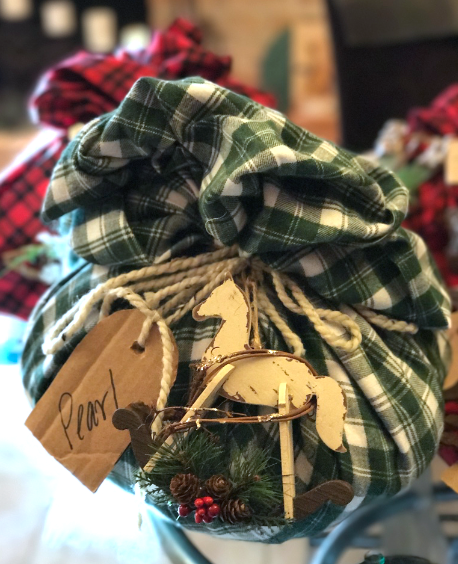
If you follow me on social media then you’ll know that at the beginning of December I had quite an adventure of being a tourist in my home city of Houston (out of town guests make it fun!) that included going to a pro football game, NASA, and a couple of trips to Bass Pro Shop. While I was at Bass I fell in love with all the plaid and flannel that was everywhere and it hit me, this could be this year’s gift wrap theme!
So I got some flannel fabrics that coordinated nicely, as well as some chunky yarn that looked “natural”.
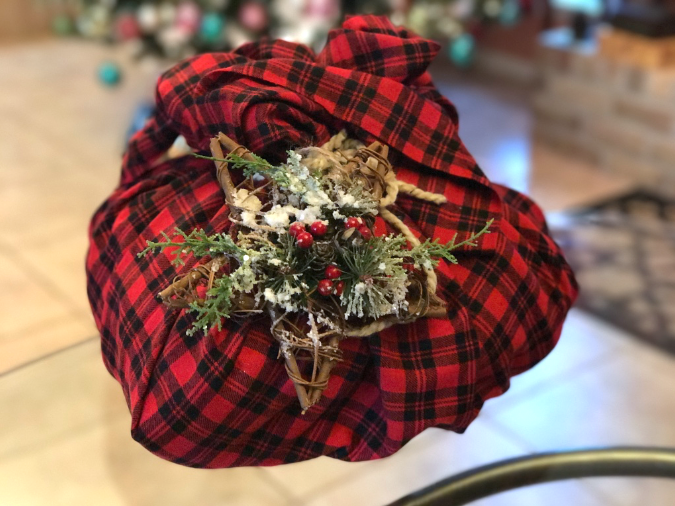
I also had to be on the lookout for just the perfect ornaments that would enhance the theme. I happen to be at Tuesday Morning and perusing their wall of ornaments I discovered some really great “lodge” feeling ornaments that would look great with the plaid.

And wrapping couldn’t be any easier. Just cut the fabric so that it is large enough to gather up at the top and be able to tie it with the yarn. To make it easier I made a slipknot with the yarn so that I could gather the fabric in one hand, put the slip knot over it and cinch it up with the other hand, then tied a secure knot. Next just tie on one of the ornaments.
For a name tag I free-handed and cut out tags from an old cardboard box I had laying around. I wanted it to look a bit rustic so just eye-balling the shape and punching the hole with the tip of the scissors worked great.
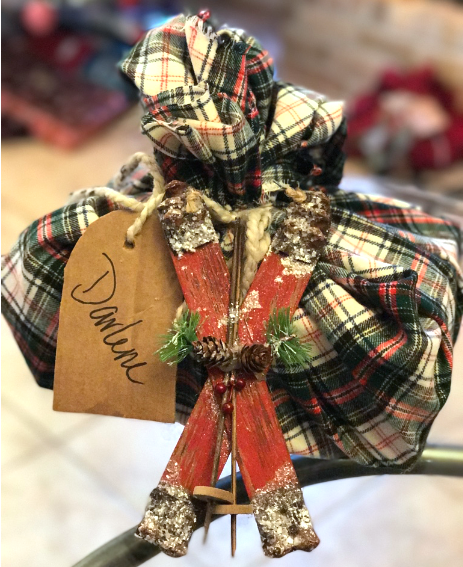
And there you have it! This is a quick and easy way to wrap your gifts (it only took me about an hour to do all mine) and you can really make your gifts as unique as you’d like.
The Crochet Dude® is a registered trademark of Drew Emborsky. All rights reserved. Please do no copy or distribute this tutorial – but please share the link with all your friends!
Please click one of the icons below to share this tutorial on your favorite social media sites!


I Love this idea! Perfect. But even better is the fact that the receiver of the gift can reuse the fabric! If it was me I would Quilt it into another project!
Hi, I met a lady in my dr.’s office who was knitting away, and I started
to chit chat with her. We discussed knit vs crochet.
She would like an easy knit and crochet pattern for fingerless gloves.
Do you have one?
I haven’t gotten unpacked in my new surroundings yet — didn’t
realize how much effort it takes for one person.
Are you affiliated with that other guy who is funny as he is
beautiful with his works?
Merry Xmas and Happy New Year